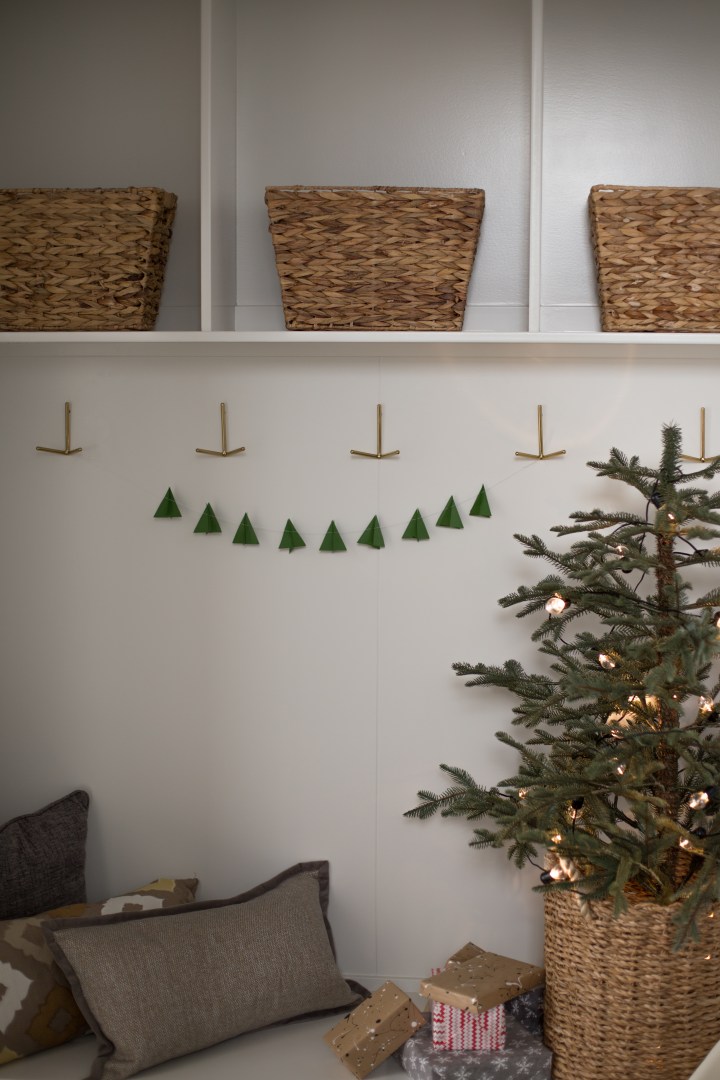
Can you believe it’s December already?! The countdown is on to the holidays and today we wanted to share a fun and festive DIY with a modern twist! We love a good garland and this one is minimal, geometric, modern and makes for a great DIY project (just add glass of wine! 😉 )
Note: This is more of an adult DIY or older children DIY as it does take a little more skill, time and patience than some of our simpler ones
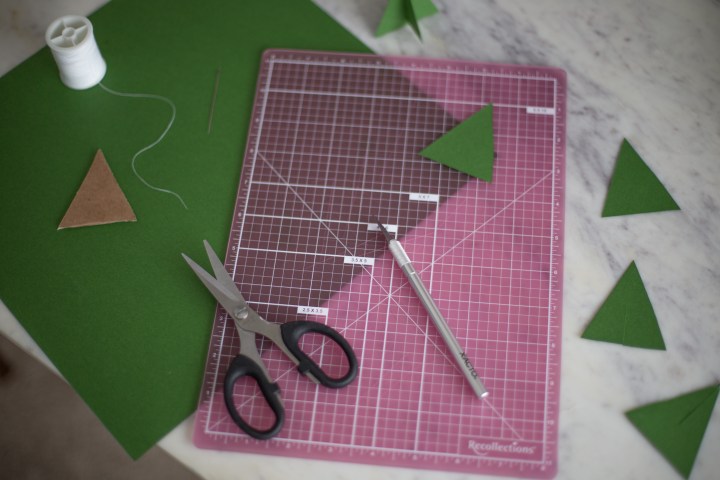
Here’s what you need: Craft paper of choice // Cutting mat // X-acto knife // Needle & Thread // Scissors // Cardobard
Here’s what to do:
Begin by creating a triangle ‘template’ using a piece of cardboard. You can make it any size you like depending on how big you’d like the garland to be. Cut it out and begin tracing triangles onto your craft paper. You’ll need two of these triangles per tree so once you know how many trees you’d like on your garland, you’ll know how many triangles to trace.
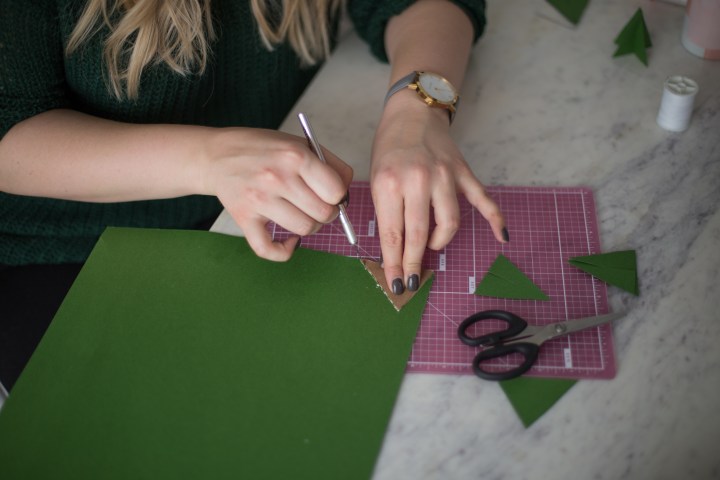
Cut out all of the triangles from the craft paper then cut about 1/4 – 1/3 of the way through on half of them from the top and half of them from the bottom. This is how the trees connect. Place the tree with the slice at the top underneath the tree with the slice at the bottom and slide them together so they connect (see below).

Once connected, you’ll string the needle and thread through the trees to create the garland. Then you’re set to hang wherever you please!

Thanks to Lisette LeBlanc for these photos and Sarasota Homes for the beautiful location!
Diana is wearing the Kendall Sweater in Forrest.